Positron + Github Copilot: Setup Instructions
AI Agent-Assisted Analysis with GitHub Copilot and Claude
Goals:
- Setup software environment for AI agent-assisted analysis in Stata and R
- Enable GitHub Copilot or Claude AI integration
- Be able to reproduce AI-assisted coding workflow demonstrated in the seminar
Overview
To be able to run positron and use GitHub Copilot or Anthropic Claude for AI-assisted analysis, you need to complete the following steps:
Software setup:
- Stata, R, Python, Positron, Git > Python package
uv> extensions in Positron (Stata MCP, Quarto)
- Stata, R, Python, Positron, Git > Python package
Github account setup:
- Create a github account using private email (not WB email).
- Join World Bank github organization.
- Request GitHub Copilot access from World Bank GitHub organization administrators.
Connect GitHub Copilot to Positron and enable Positron Assistant in Positron settings.
Known Issues and Troubleshooting
If you have trouble installing software from the Software Center, contact IT Help: ITHelp@worldbankgroup.org or use Walk-in center.
If you have trouble with GitHub World Bank or Github Copilot access from World Bank GitHub setup instructions or contact github@worldbank.org.
Github copilot does not work in Positron after installation:
Make sure you set-up Github account properly
Make sure that you have enabled Positron Assistant in Positron settings
Make sure you are signed into GitHub in Positron
Reload Positron after installation and setup:
Ctrl+Shift+P>Developer: Reload Window>Enteror close it and open again.
Stata-MCP extension does not run code from the OneDrive.
This is a known issue with Stata MCP extension when running code from OneDrive folder. It happens because our one drive folder has a space in the name (“OneDrive - WBG”). A workaround is to move the code to a different folder without spaces in the path, for example
C:\Users\wbXXXXXXX\code, and run it from there. Once this issue it resolved on the Stata MCP extension side, it will update in positron automatically and you will be able to run code from the OneDrive folder again.
Software setup
Step 1. Prerequisite Software: Stata, R, Python
Go to the World Bank Software Center App and install the following software (if not already installed)  :
:
| Software | Notes | |
|---|---|---|
| Stata 19 or higher (latest available) | ||
| Positron Latest | ||
 |
R 4.5.2 (latest) | |
| Python 3.13+ (latest) | ||
| Quarto 1.3.343 (latest) | May require software installation request | |
| Git 2.52+ (latest) | ||
| GitHub Desktop Latest | Optional |
Step 2. Install Required Python Package
Open Command Prompt (cmd) or PowerShell:
- Press
Win + R, typecmdorpowershell, and hit Enter.
- Press
Type
pip install uvand press Enter to install theuvpackage.uvis a package that allows environments management in python, see https://pypi.org/project/uv/
Check if UV is installed correctly by typing
uv --versionin the Command Prompt or PowerShell. You should see the version number displayed, something like this:uv 0.9.18 (0cee76417 2025-12-16)
Step 3. Install Positron (IDE) from the software center
The positron is now available for installation at the World Bank through the Software Center. No requests or administrative privileges are required. Big thank you to our ITS colleagues for making this possible!
Step 4. Install Extensions in Positron
Extensions are add-ons that enhance Positron’s functionality. To install extensions, open the Extensions panel by clicking the square icon ![]() on the left sidebar or pressing
on the left sidebar or pressing Ctrl+Shift+X. There are many extensions available for Positron. Below are the key extensions to install for AI-assisted analysis:
Stata MCP
Stata MCP Extension enables Model Communication Protocol (MCP) for Stata, providing better context awareness for AI agents and allowing you to run Stata code directly from Positron.
To install it:
| Description | |
|---|---|
| Open the Extensions panel in Positron | |
 |
Search for “Stata MCP” in the Extensions panel |
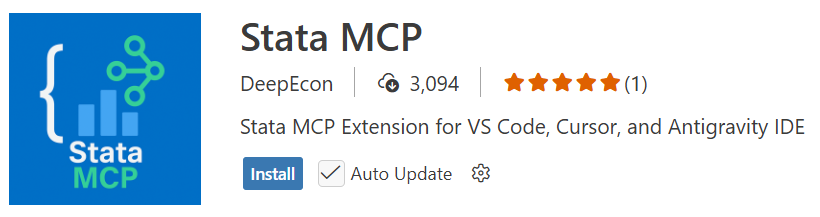 |
Click “Install” to add the extension to Positron |
After installation, restart Positron or reload the window (Ctrl+Shift+P > Developer: Reload Window > Enter) |
Once installed, configure the Stata MCP extension by setting up the path to the Stata executable and Stata edition.
Open stata-vscode.stataPath or press
Ctrl+,> search “Stata Path” (orstata-vscode.stataPath), and set it to your Stata executable folder:C:\Program Files\StataNow19\(for most WB laptops and VDIs).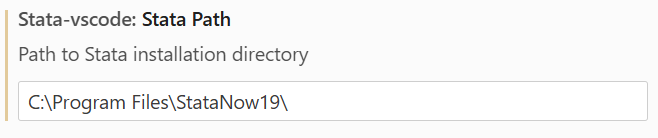
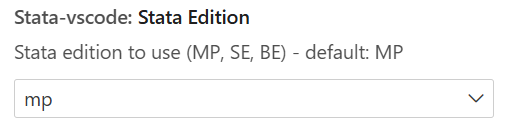
Open stata-vscode.stataEdition
or pressCtrl+,> search “Stata Edition” (orstata-vscode.stataEdition), and
set it to “mp” for Stata MP version.
Verify Stata MCP is working:
Create and save a new Stata
.dofileType a simple command like:
stata sysuse auto summarize price display "Stata is working!"Press
Ctrl+Shift+Din the.dofile orCtrl+Shift+P> typeStata: Run Current File>Enterto run the do file or click on the button
Results from Stata should appear in the
Outputpanel: PressCtrl+Shift+P>Output: Show Output Channels...>Enter>Stata.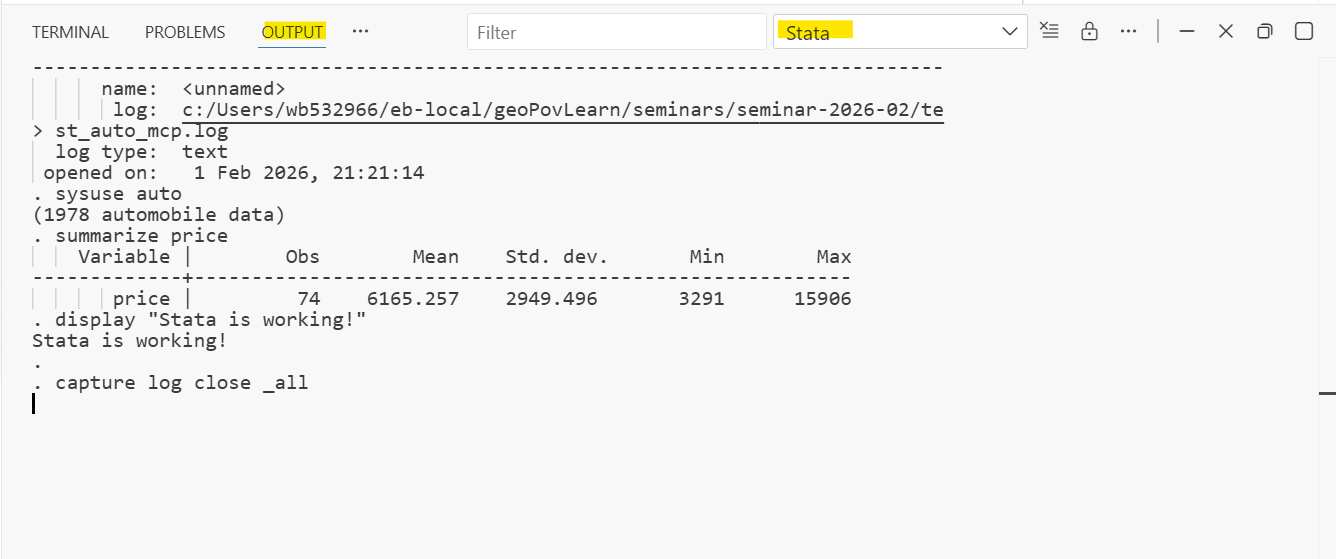
Other relevant extensions
Quarto Extension enables Quarto document editing and rendering in Positron.
GitHub Setup
GitHub setup includes (1) creating a GitHub account, (2) joining the World Bank GitHub organization, and (3) requesting access to GitHub Copilot. These steps can be done independently and give different privileges to users, see table below.
| Access Level | GH Permissions | GitHub Copilot / AI Assistance | github.com/worldbank |
|---|---|---|---|
| No GitHub Account | ❌ No: view public repos only | ❌ No | ❌ No (only view public repositories) |
| Personal GH Account (created at github.com) |
✅ Everything: Create personal repos, collaborate | ⚠️ Usage limit on all services. No access to Claude | ❌ No |
| + GH Copilot subscription (Copilot Pro or Pro+) | ✅ Everything | ✅ Unlimited code completion + Chat. ⚠️ Limit on Agent ✅ Access to premium models (Claude, GPT-4.5) |
❌ No |
| WB Organization Member (join via eServices) |
Access WB public and internal repos; Create repos under WB org | ⚠️ Limited (depends on GH Copilot subscription) | ✅ Yes (view / contribute) |
| WB Org + Copilot Access (request Copilot via GitHub Settings and email to github@worldbank.org) |
✅ Unlimited code completion + Chat. ⚠️ Limit on Agent (300 requests/month) ✅ Access to premium models (Claude, GPT-4.5) |
✅ Yes (Claude, GPT-4, etc.) | ✅ Yes |
Key takeaways:
- For AI-assisted coding: You need at minimum “Private GH account + WB Org + Copilot Access (private Pro subscription or from World Bank GitHub)”
- To be able to use GitHub Copilot with Claude: You need Copilot Access (private Pro subscription or from World Bank GitHub)
- Email matters: Always use your personal email, not your WB email, when creating your GitHub account
Step 1: Create a GitHub Account
If you don’t have a GitHub account yet, create one at https://github.com/signup or read more GH: get-started
Note: Use your personal email address, not your World Bank email.
Step 2: Join the World Bank GitHub Organization
Submit a “Join GitHub Organization Account Request” on eServices to join github.com/worldbank
Once your request is approved, you will receive an email invitation to join the World Bank GitHub organization
- Email will be sent to the email address associated with your GitHub account
Accept the invitation by clicking the link in the email
You need to confirm your membership in the World Bank organization on GitHub by following steps indicated in the email.
If you don’t confirm within a few days, the invitation will expire, and you will need to request again through eService.
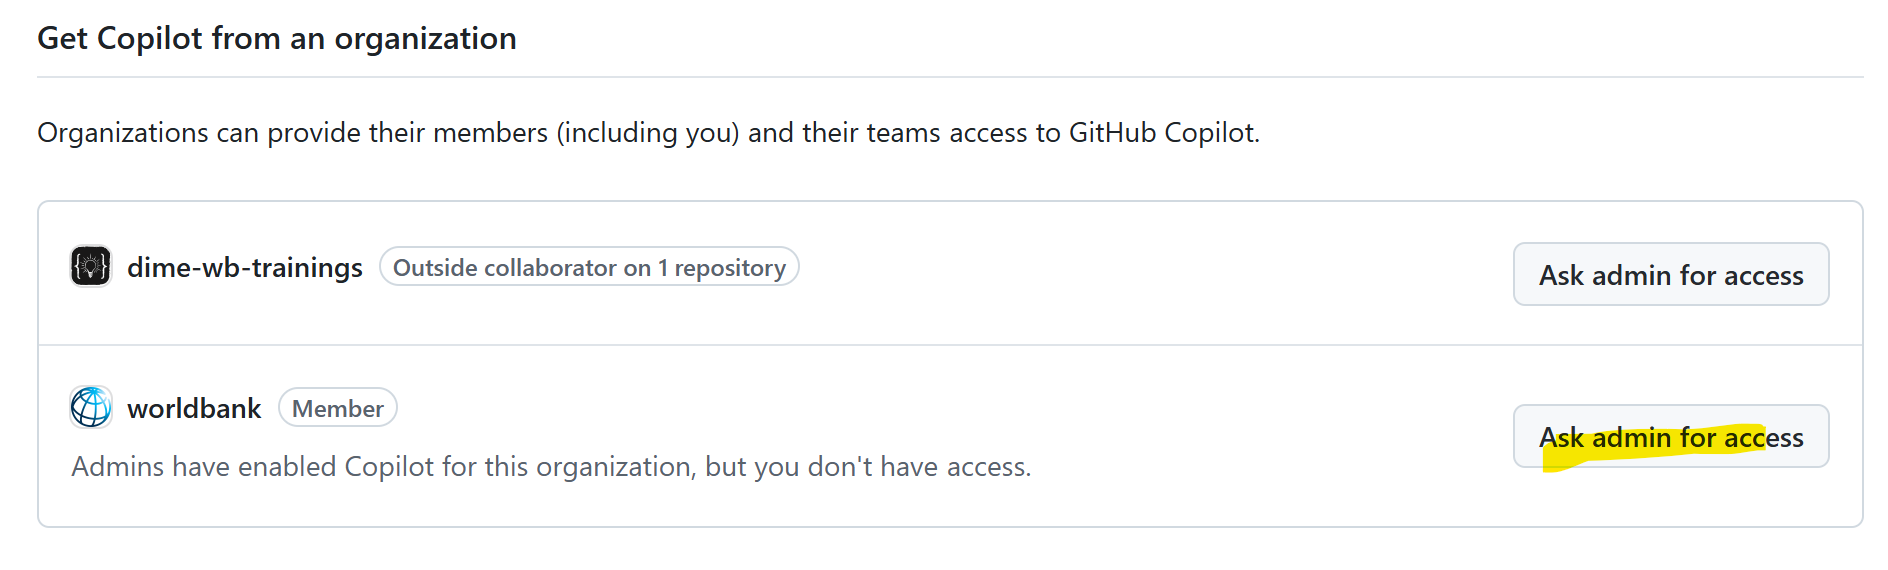
Step 3: Request GitHub Copilot Access from World Bank GitHub Organization
After joining the World Bank organization, request GitHub Copilot access. To do this:
Scroll all the down to the “Get Copilot from an organization” section and click the “Request access” button from worldbank organization.
Sending an email to github@worldbank.org with the subject line: “Request GitHub Copilot Access”. In the email body, include your GitHub username and a brief reason for requesting access. Copy manager or team lead for approval.
Your request will be reviewed and approved by the GitHub organization administrators.
Tip: Bryan Cahill and github@worldbank.org lead the github.com/worldbank organization and can help with Copilot access requests.
Warning: If you don’t see the “Request access” button or worldbank organization, it means you haven’t been added to the World Bank GitHub organization yet. Please complete Step 2 above, wait for the confirmation email, and accept the invitation before requesting access.
Once approved, you’ll be able to use GitHub Copilot in Positron
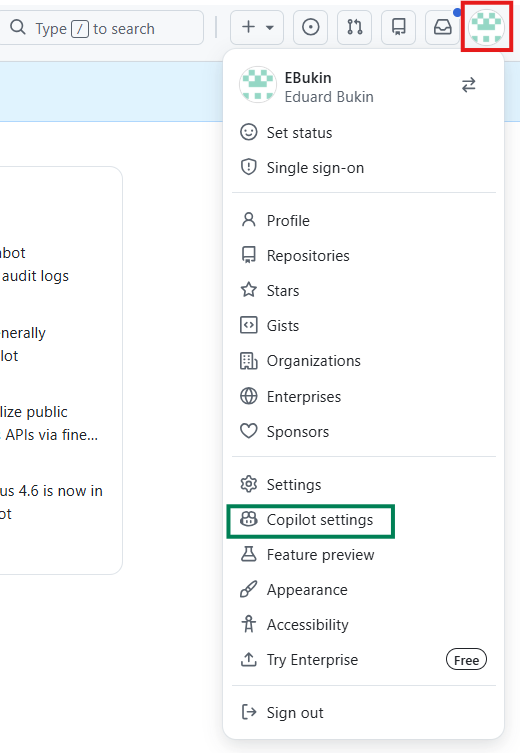
Step 4: Verify GitHub Copilot Access
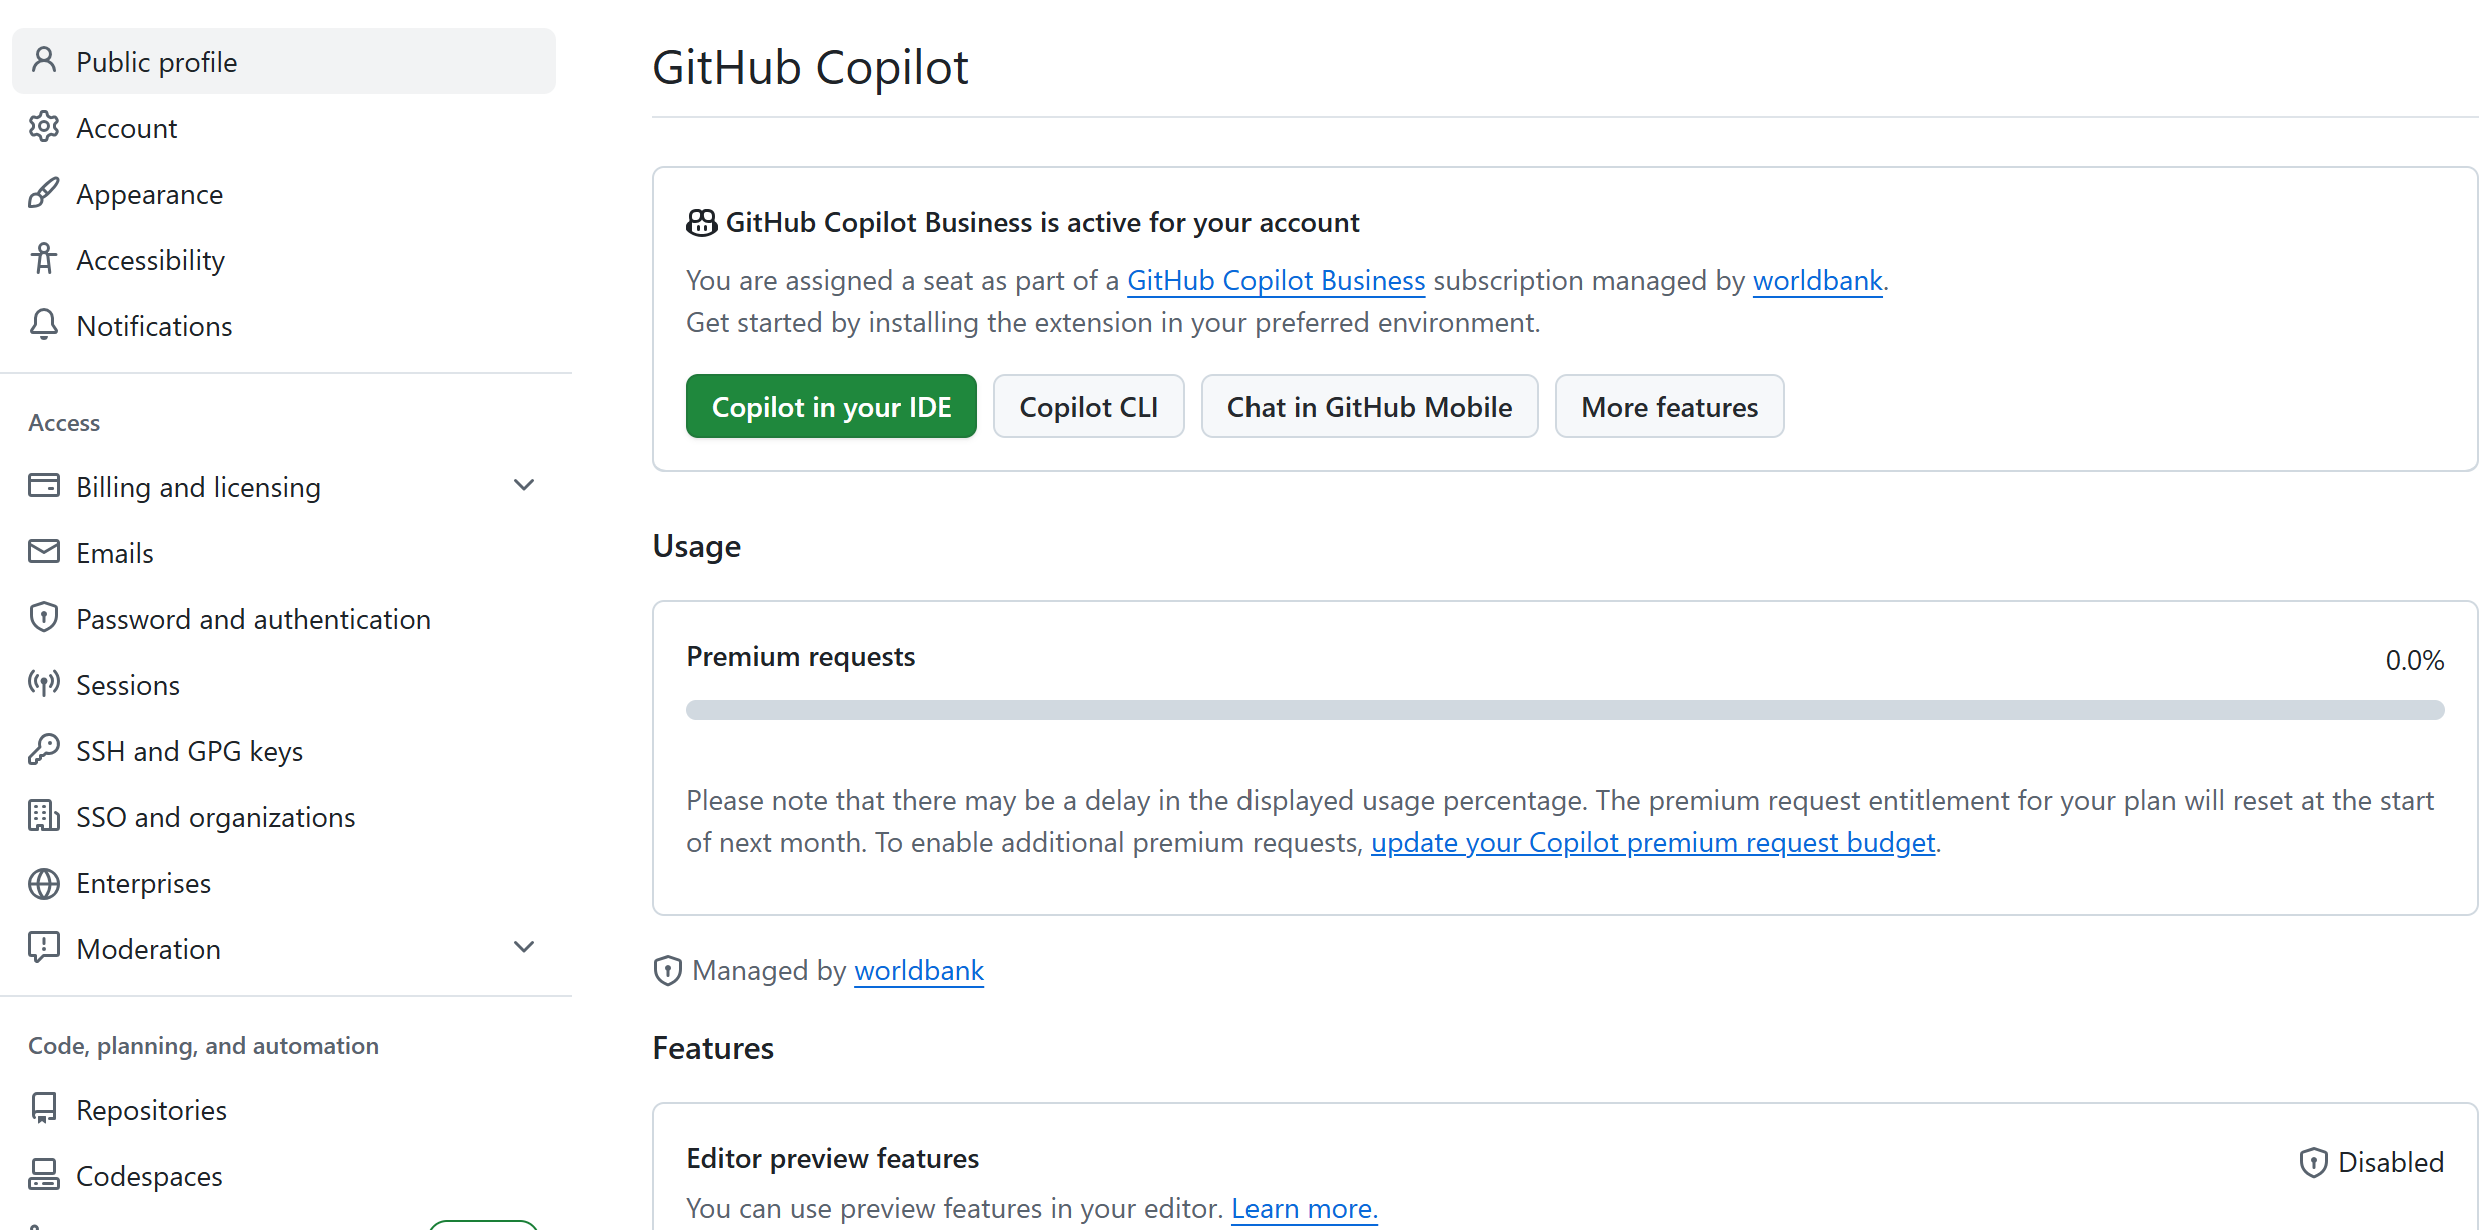
In github.com, go to GitHub > Settings > Copilot settings and verify that you have access to GitHub Copilot through the World Bank organization. Your usage statistics will looks like this:
No access to Copilot from World Bank GitHub organization or personal plan Pro or Pro+
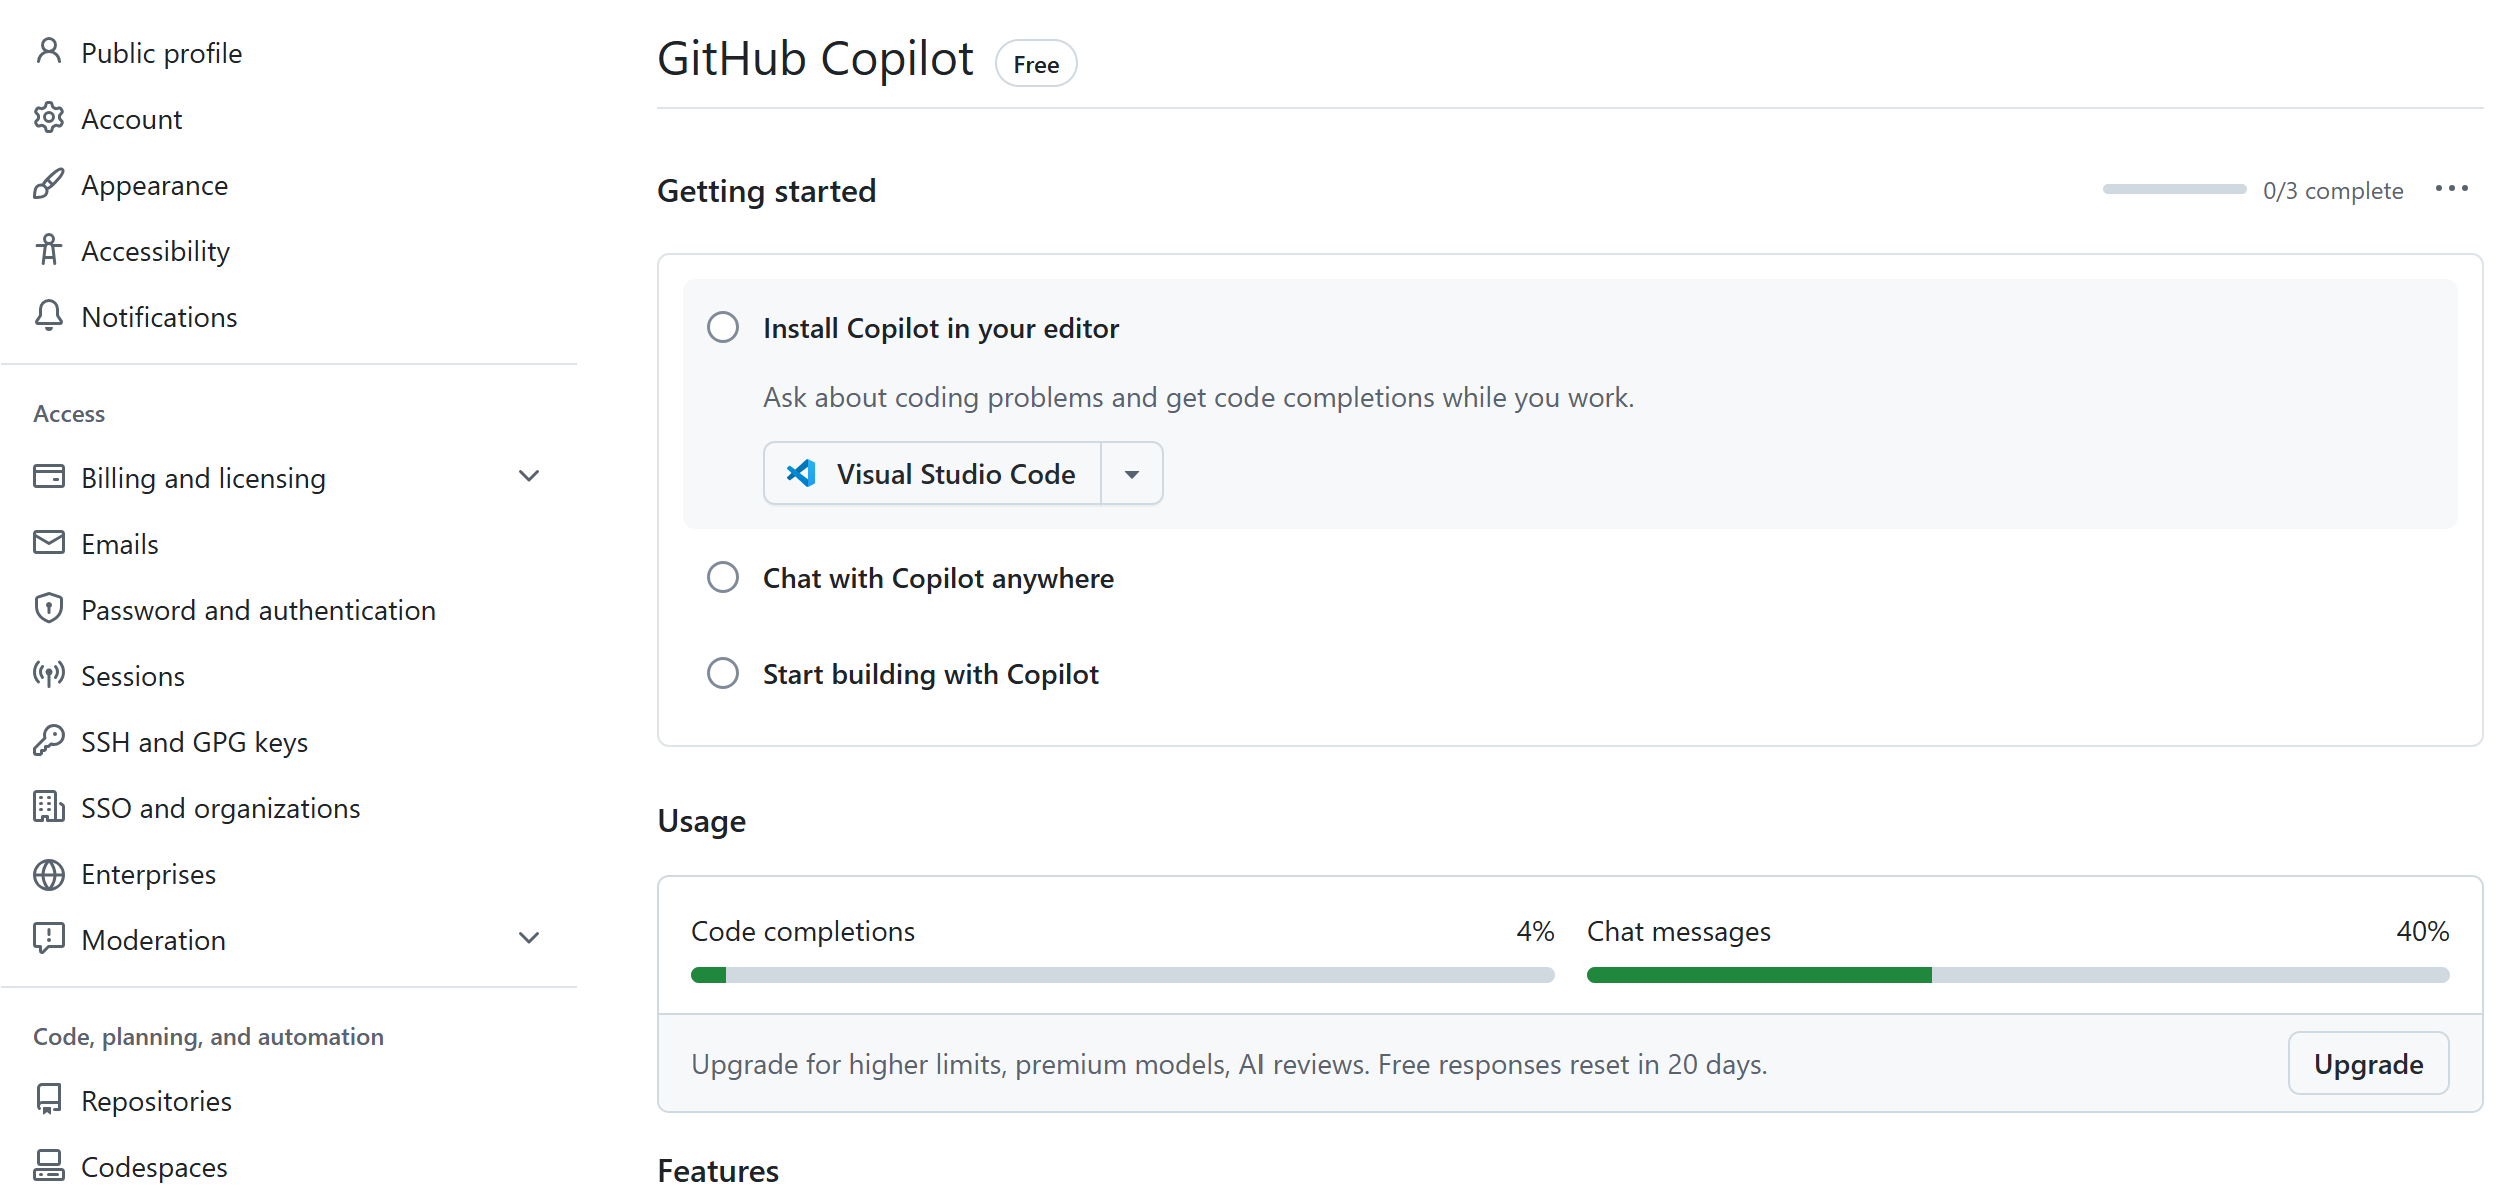
Access to Copilot from World Bank GitHub organization or personal plan Pro or Pro+
Another way is to check if you have access to premium models like Anthropic Claude or GPT-4.5 in the Positron Assistant settings (see instructions below).
Open Positron and sign in to your GitHub account (see “Connecting GitHub Copilot to Positron” section above)
Check that the GitHub Copilot extension is active in the Extensions panel
Try typing a comment in a code file to verify that Copilot suggestions appear
Note: If you have access to GitHub Copilot but don’t see suggestions in Positron, make sure you are signed into GitHub in Positron and that the GitHub Copilot extension is installed and enabled.
Positron + GitHub Copilot / Anthropic Claude Setup
This step enables you to use the GitHub Copilot coding agent and other LLMs, such as ChatGPT or Anthropic Claude, with Positron.
See Positron Assistant: Getting Started for the full overview of what it does.
Warning: Sometimes it is needed to reload Positron after installing software or extensions for the changes to take effect.
Step 1. Connect GitHub to Positron
This requires a GitHub account linked to the World Bank organization. See GitHub Setup [@github-setup] instructions below if you don’t have an account or haven’t linked it to the WB organization. To connect GitHub to Positron:
| Note | |
|---|---|
Open Account menu |
|
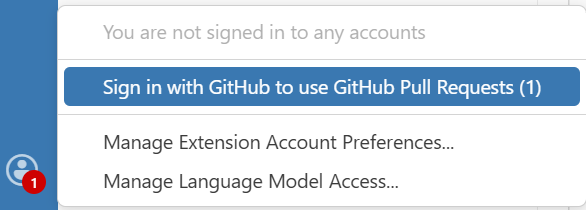 |
Click Sign in to your GitHub account |
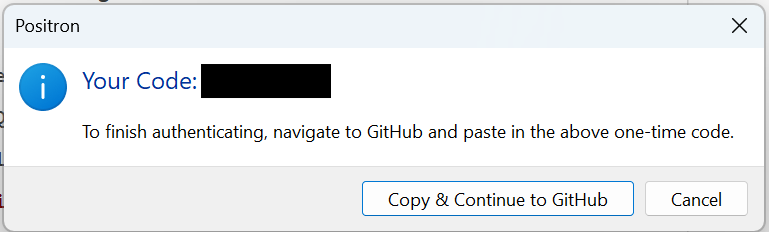 |
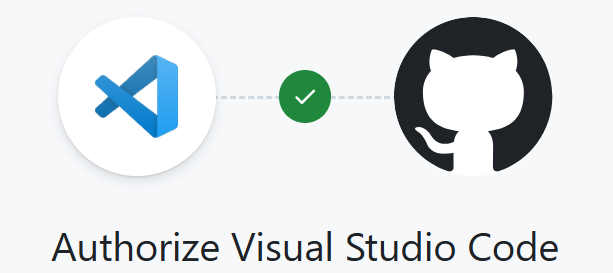
Authorize GitHub in your browser |
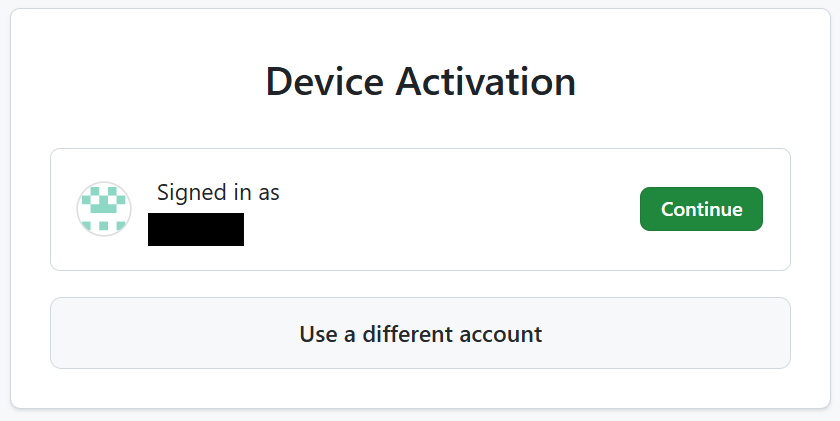 |
Confirm the authorization request |
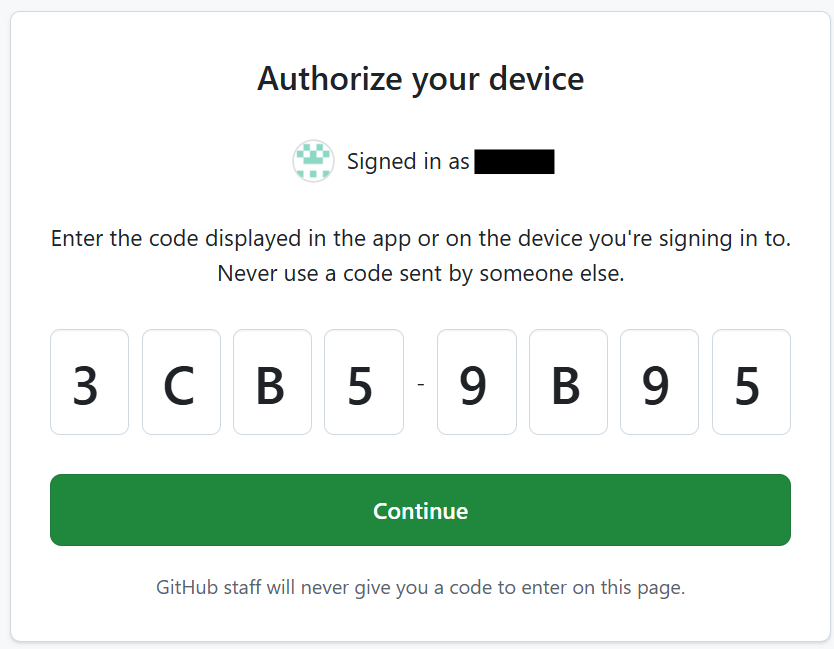 |
Complete the authentication process |
 |
Grant necessary permissions |
 |
See also Positron Assistant Guide for more details on connecting GitHub and using the assistant.
Step 2. Enabling Positron Assistant in Positron Settings
Open settings positron.assistant.enable and check the box to enable it. or
Ctrl+,>positron.assistant.enable> Check the box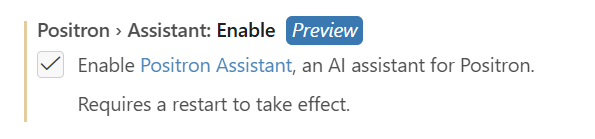
Restart Positron to apply the changes
or reload the window (Ctrl+Shift+P>Developer: Reload Window>Enter)
See Enable Positron Assistant for more details.
Step 3. Configure LLM Provider
By default, when logged into GitHub, Positron Assistant uses GitHub Copilot as the LLM provider. GitHub Copilot provides code completion, answers questions in chat, and operates in agent mode (able to run code directly).
Note: Within GitHub Copilot, you can also configure other LLM providers, such as Anthropic Claude, OpenAI GPT, etc.
If you want to use Anthropic Claude or other LLMs as the provider, follow instructions in Configure language model providers.
Note: Code completion will still be provided by the GitHub Copilot extension or will not work with Anthropic Claude.
Step 4. Using Positron Assistant
Ctrl+Shift+P>Help: Ask Positron Assistant>Enterto open it.In the input box that appears, type your question. For example:
Write a Stata do file that loads the auto dataset and summarizes the price variable. Open it. Explain how to run it.
To learn more about using Positron Assistant, see Use Positron Assistant
Additional Resources
- Positron Documentation
- GitHub Copilot Documentation
- World Bank GitHub: https://github.com/worldbank
Support
For help with setting up or troubleshooting the software, contact:
IT Help: ITHelp@worldbankgroup.org
Remember to provide assisting person with these setup instructions.
For help with accessing GitHub.com/Worldbank or Github Copilot from the worldbank:
Check: GitHub Setup instructions above
Reach out to: github@worldbank.org
Appendix
Positron1 installation instructions, when it is not available in the Software Center
- Download Positron from https://positron.posit.co/download.html
Important: Use “Windows 10, 11 x64 (system level install)”, not the “user level install”
Make a “Software Installation Request” on eservice.
- Go to eservices/
- Select “Software Installation Request”
- See KB0076748 for more details.
Once approved, you will have two options to install Positron:
- ITS Personnel will connect to your computer remotely and install Positron using an admin password.
- You will need an admin password to install Positron yourself.
Either way, follow these installation instructions:
Step 1: Copy the executable (exe) or installation folder to
C:\WBG.Step 2: Launch the command shell (cmd.exe) as an administrator.
Step 3: Navigate to
C:\WBGin the command shell.Step 4: Set the user profile, TEMP, and TMP environments, and launch the executable from the shell prompt by typing:
set userprofile=c:\wbg\temp
set temp=c:\wbg\temp\temp
set tmp=c:\wbg\temp\temp
Positron-20XX.XX.X-XXX-Setup-x64.exe
Note: Replace
Positron-20XX.XX.X-XXX-Setup-x64.exewith the actual filename of the Positron installer you downloaded.
Footnotes
Alternatively, you can use Visual Studio Code (VS Code) as your IDE. We encourage using Positron for its better context awareness when developing R/Stata and analysis scripts. VS Code can be installed from the Software Center. Note that some steps below may differ when using VS Code instead of Positron. VS Code does not have many built-in R language features that Positron has out-of-the-box and lacks key bindings relevant to data science tasks.↩︎